
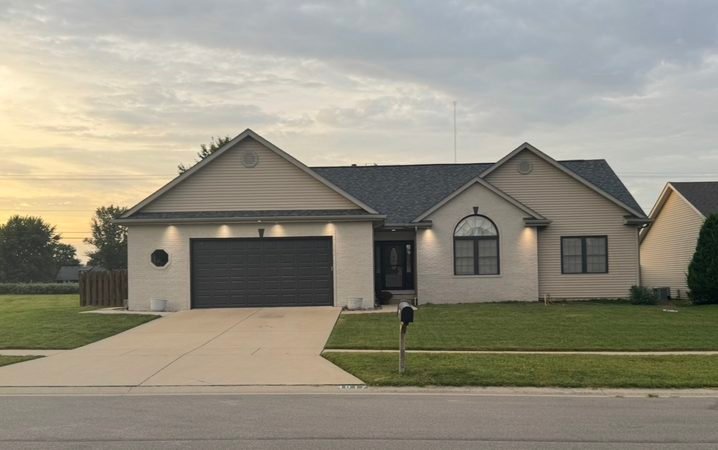
Sometimes the thing your house needs is exactly what you’re being told not to do.
When we started updating the exterior of our house, we knew we wanted more contrast. Once we started painting the brick and bringing in darker accents, painting the garage door Iron Ore started to make sense.
There was just one problem. Everything I kept reading said that a garage door should blend into the house—not become a focal point.
And ours definitely wasn’t going to blend in.
We were a little leery of the decision, so we did what any normal people contemplating the color of their garage door would do: we rode our bikes around the neighborhood and looked at everyone else’s.
Sure enough, almost every garage door blended into the house.
We painted ours dark anyway. And I don’t regret it at all.
The Iron Ore gave the front of our house the depth and distinction it was missing. The entire exterior feels more updated, and somehow a garage door we’ve had all along looks brand new.
Sometimes the design rule just isn’t right for your house.
The Paint We Used
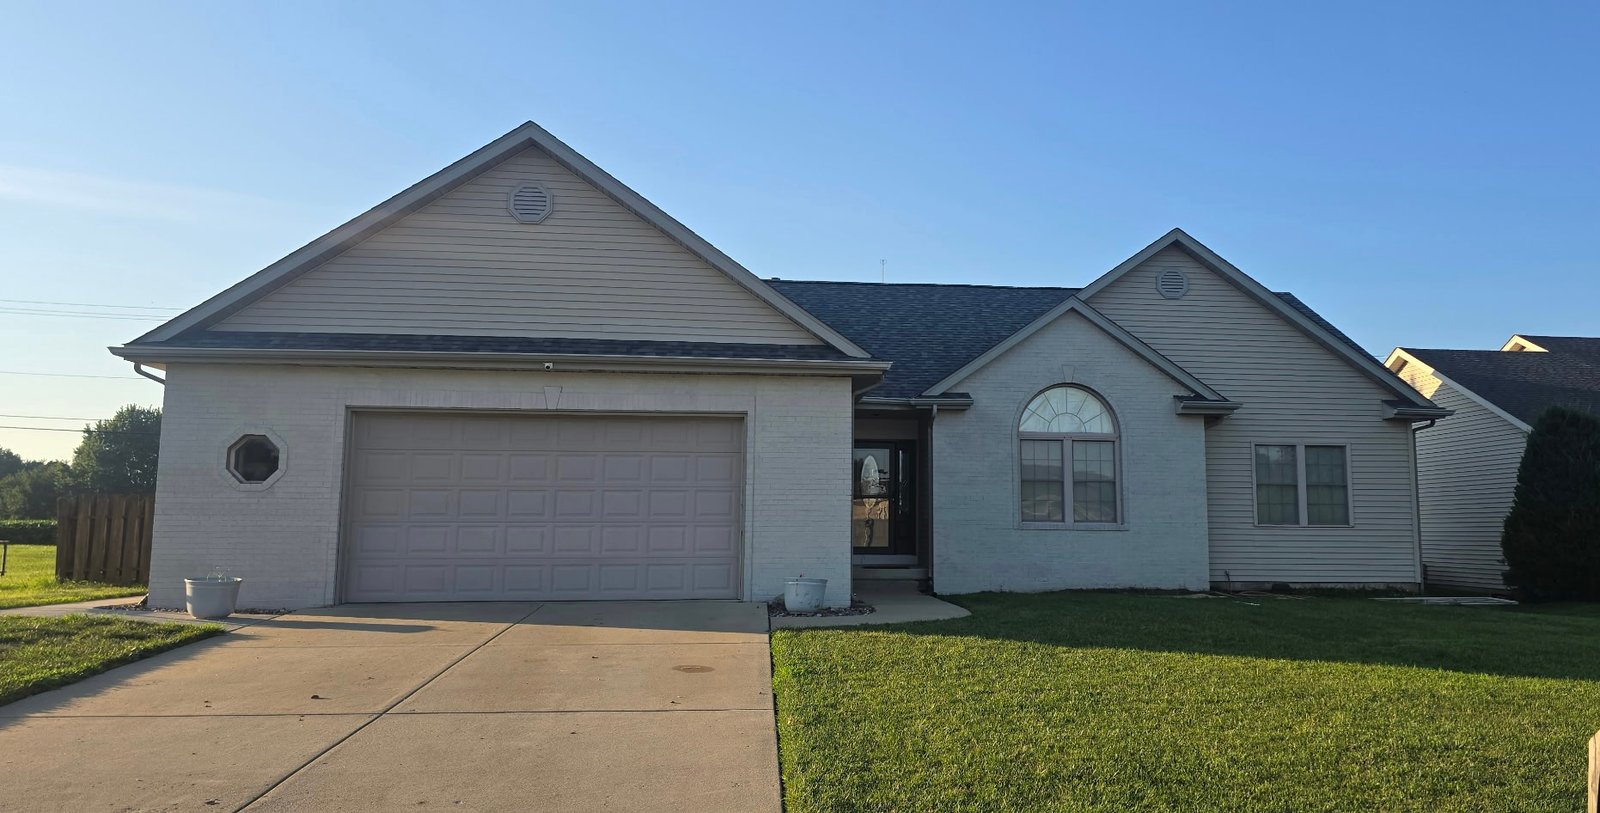
We used Sherwin-Williams Forte Interior & Exterior Urethanized Acrylic Coating in Satin, tinted to SW 7069 Iron Ore.
Our garage door is metal, so we wanted a product that would work on a properly prepared metal surface. We bought one gallon of paint, which was plenty for two coats on our garage door.
For this project, we used:
- Sherwin-Williams Forte Satin in SW 7069 Iron Ore
- 91% isopropyl rubbing alcohol
- Sandpaper
- Painter’s tape
- Paint brush
- Rollers
- Pressure washer
We already had most of the supplies on hand, so our actual out-of-pocket cost was basically the gallon of paint and the rubbing alcohol.
Another win for using what you already have.
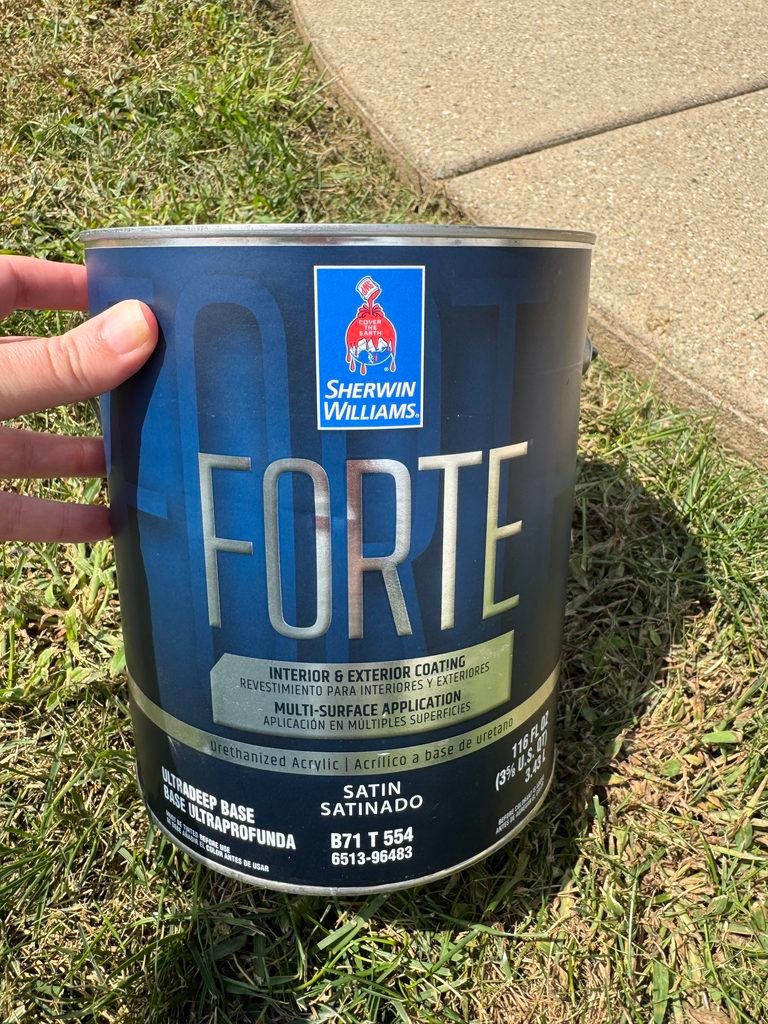
Step 1: Getting the Garage Door Ready
The actual painting wasn’t the most time-consuming part of this project. Like most painting projects, a lot of the work happened before we ever opened the paint can.
We started by pressure washing the garage door, which took less than 10 minutes. A few days before we actually painted, we sanded the entire door. That took us roughly 30–40 minutes.
Then, on painting day, we wiped the prepared surface down with 91% isopropyl alcohol before we started painting. The rubbing alcohol wasn’t a primer – we used it only as part of our final cleaning and surface prep before painting.
Step 2: Tape the Things You Just Finished Painting
At this point, we had also recently painted the brick surrounding the garage.
The LAST thing we wanted to do was mess that up.
So before we started painting the garage door, we taped off the brick around it. It only took about 10 minutes, and it was absolutely worth doing. This is one of those steps that’s tempting to skip because you just want to start painting.
Don’t skip it.
Ten minutes of taping is a whole lot better than touching up a project you literally just finished.
Step 3: Brush the Edges and Roll the Rest
We used a brush around the edges of the garage door and rolled most of the larger areas. The door needed two coats of paint, and overall, the painting itself was pretty straightforward.
The roller situation, however, was not.
Our garage door had a slick surface, and one of the rollers wasn’t exactly in pristine condition from its previous life.
Because, you know. Kids.
So at one point, we were working with two rollers. The smaller, not-really-working one could get into tighter areas, while the larger roller covered considerably more ground.
Was this the professional method? No.
Did the garage door get painted? Absolutely.
The Part We Didn’t Plan Very Well
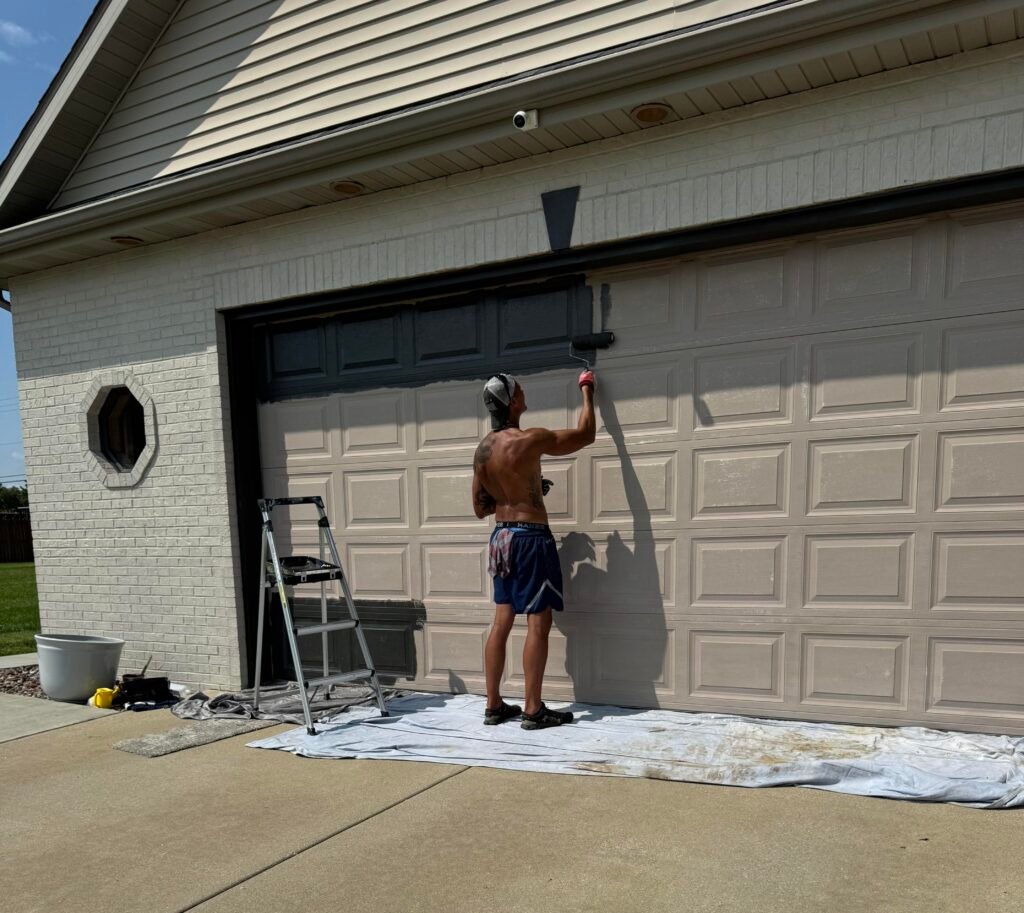
Of course, we decided to do this project on one of the hottest days of the summer.
Our house faces south, so there wasn’t much escaping the sun either. Once we started, though, we were committed.
One thing worth mentioning if you’re considering a dark garage door: darker colors absorb more heat, and depending on the door’s construction, that can create problems with the panels or affect the manufacturer’s warranty. Our experience doesn’t mean every garage door is a good candidate for Iron Ore. It’s worth checking your particular door’s recommendations before painting.
The biggest thing we learned while painting the door was to work in sections and keep moving. With all of the raised panels and little grooves, it was easy to miss a spot — especially once the dark paint started making everything blend together.
But even before the first coat was finished, we could already tell the color was doing exactly what we hoped it would do.
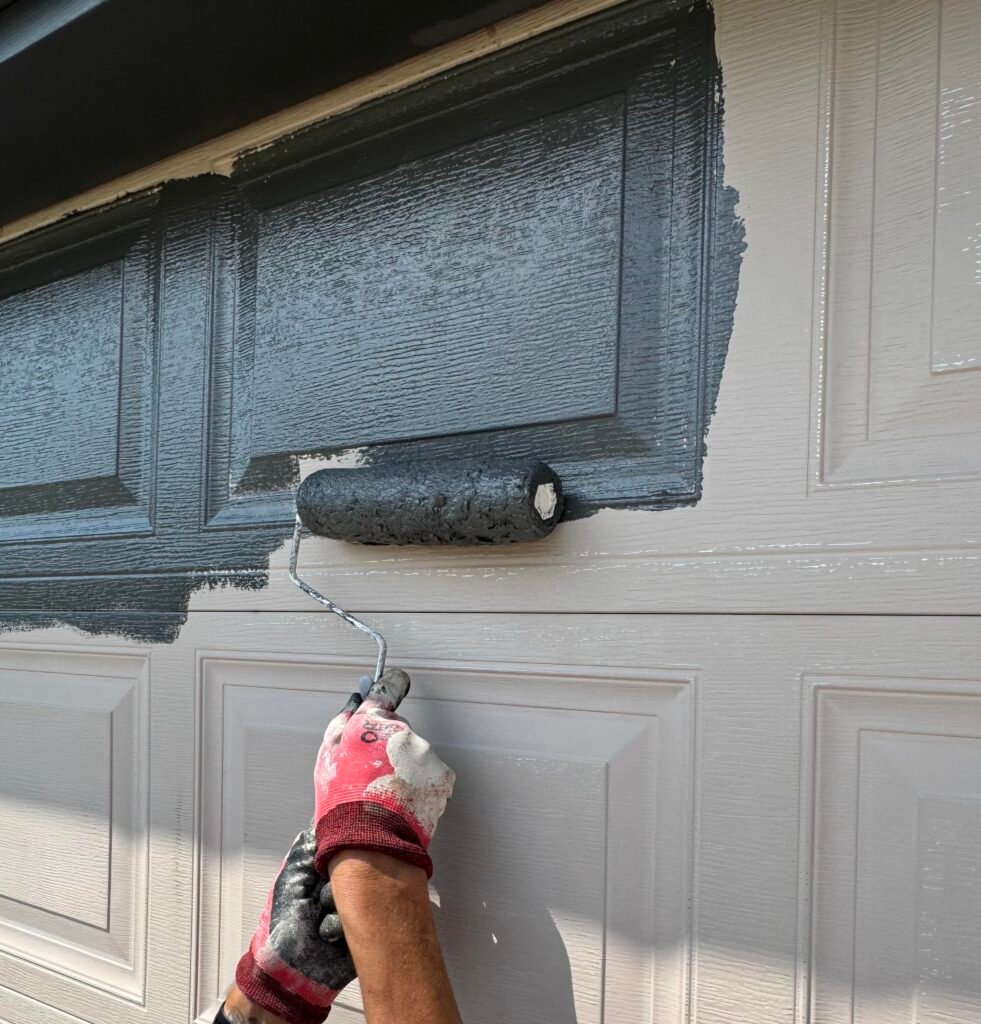
When It Started Coming Together
Seeing the original garage door next to the Iron Ore made the difference pretty hard to ignore. What had blended into the house before suddenly looked intentional.
And honestly, this is one of my favorite parts of any paint project — when there’s just enough of the old color left that you can really see what the new color changed.
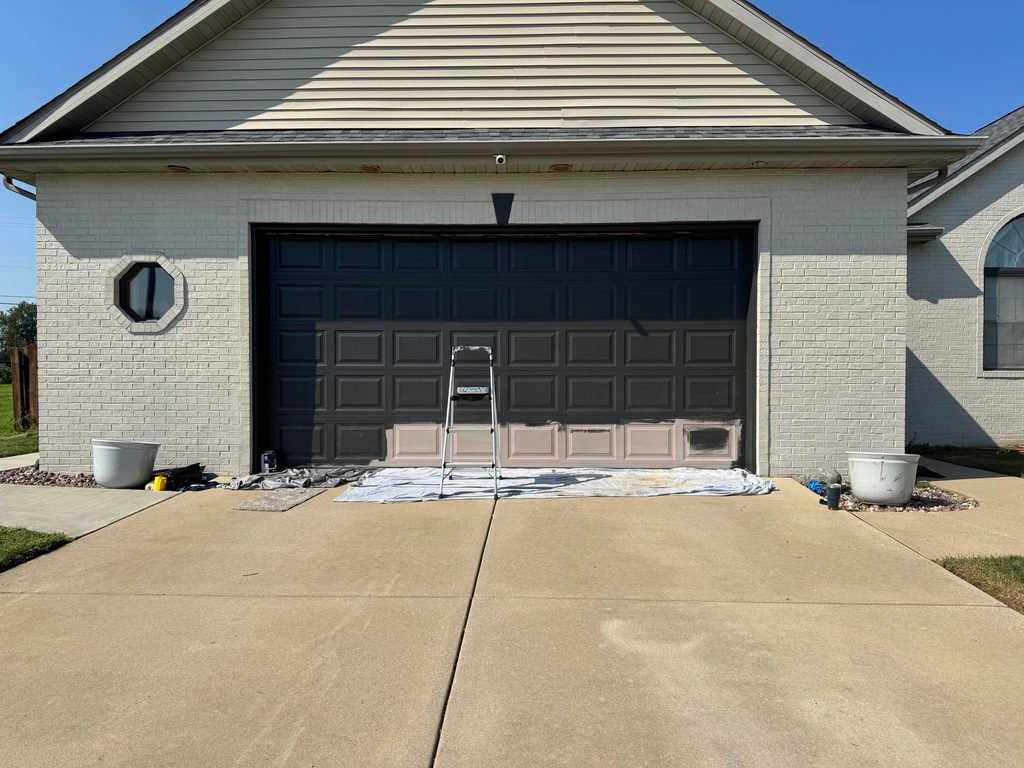
Once most of the beige disappeared, we knew we had made the right call.
Iron Ore completely changed the garage door without changing the garage door at all—which is exactly the kind of project I love. We used what we already had and made one change that gave the whole front of the house more contrast.
And despite a few questionable moments along the way, we eventually got the entire thing covered.
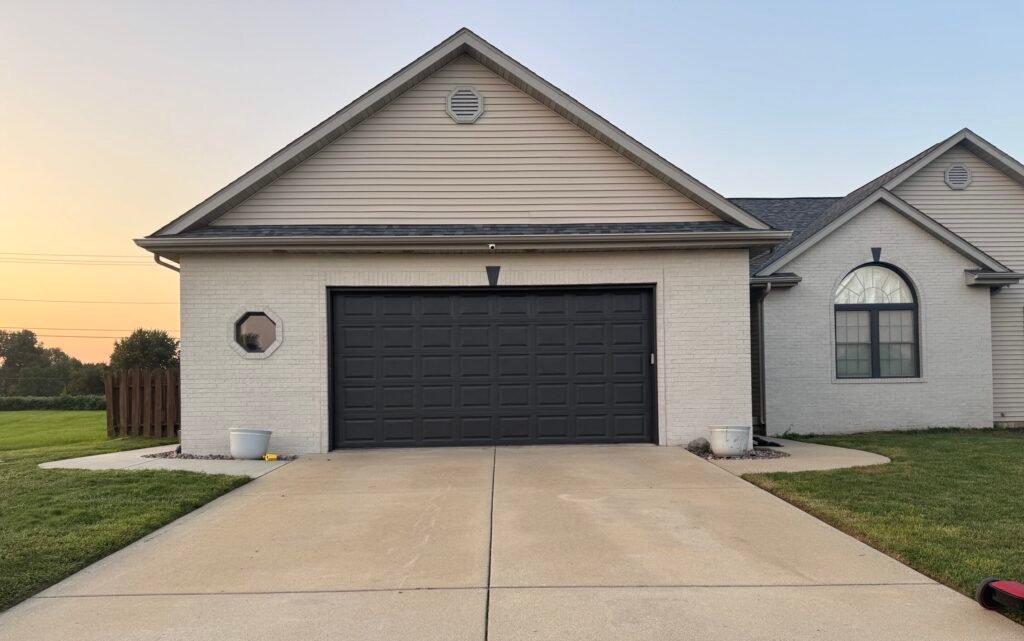
The Little Details Made a Difference
Once the garage door was finished, we weren’t quite done.
The recessed lights above the garage still had their original trim, and against the new dark garage door, they suddenly stood out. So we painted the can-light trim and replaced the bulbs.
It was another small change—and one we probably wouldn’t have thought twice about before painting the garage door—but it helped everything feel more finished.
That’s something I’m learning over and over with this house: you don’t always need one huge renovation to make a difference. Sometimes you make one change, step back, and notice what the space needs next.
A painted garage door, updated lights, new bulbs – nothing complicated. But together, they changed the entire front of the house.
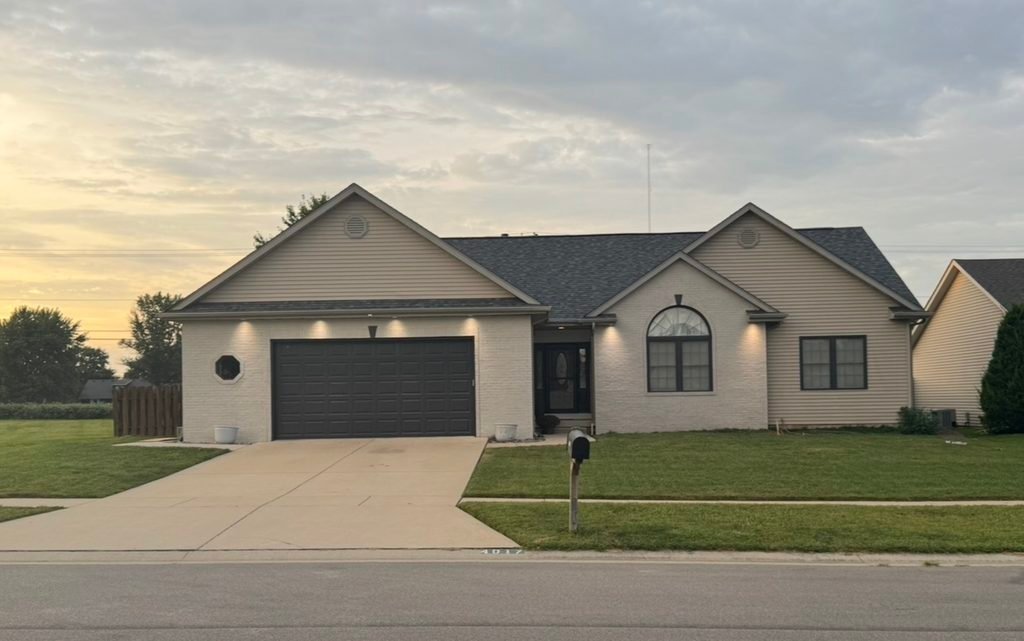
Would We Do It Again?
Absolutely.
Painting the garage door was one of those projects that made a much bigger difference than we expected. We didn’t replace it or change the style of the door. We simply worked with what we already had and gave it a new color.
Before assuming something needs to be replaced, sometimes it’s worth asking whether it just needs to be looked at differently.
For us, Iron Ore was enough.
We kept the garage door. We just made it work better for our house.